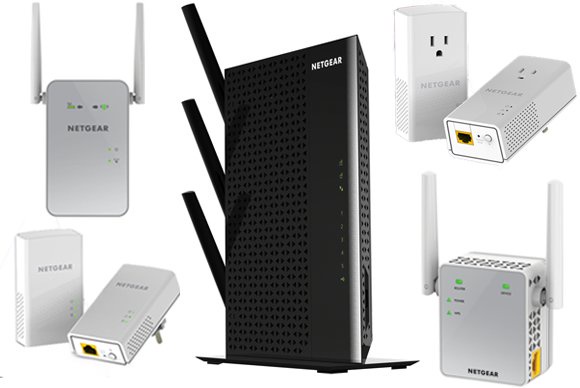
NEW EXTENDERS SETUPS AND MORE
www mywifiext net
Get support for you wifi device. We are here to answer all your questions
Get support for you wifi device. We are here to answer all your questions
Mywifiext.net is a local web address that helps you access the configuration page of your Netgear WiFi extender. It is not a typical website but rather a portal where you can configure your extender settings, update the firmware, and manage network connections.
Some of the important features available on the Mywifiext.net portal are as follows:
Since Mywifiext.net is a local address, you should be connected to your Netgear extender’s network to log in to the portal.
Before you start the setup, you will require the following:
All devices must be within range of the WiFi router and the extender, and you should have all the required login credentials available.
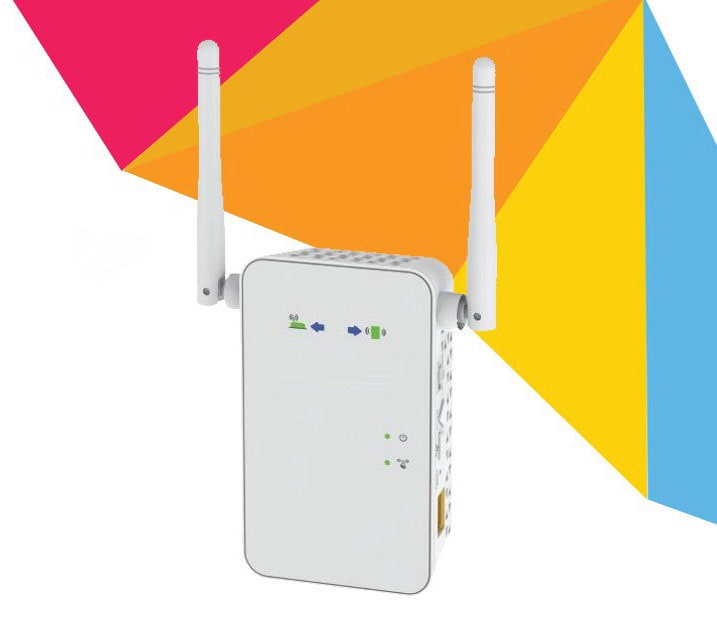
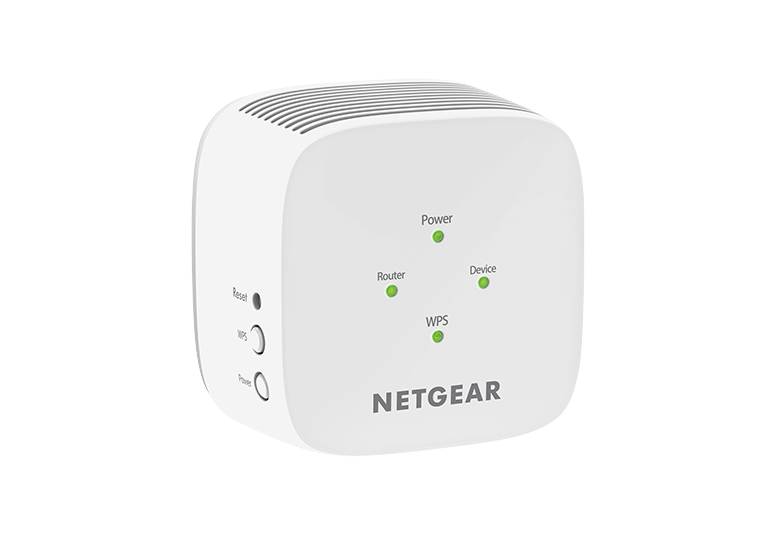
Step 1: Unbox and Prepare the Netgear WiFi Extender
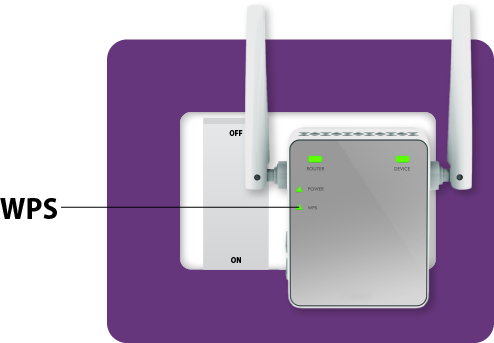
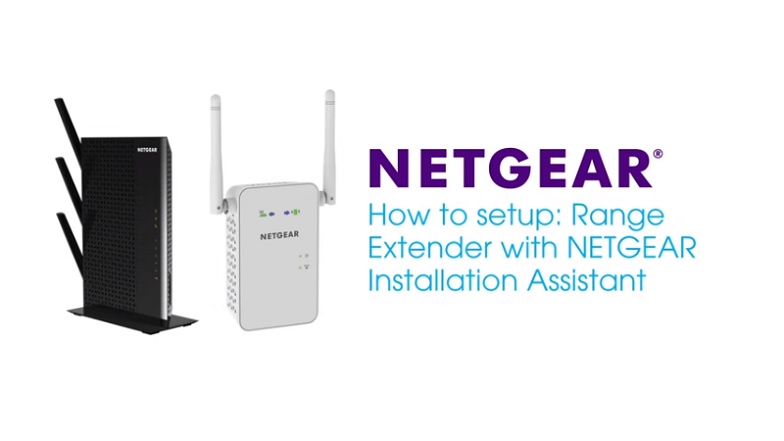
Step 2: Connect to the Netgear Extender Network
Connecting through a Web Browser (Laptop/Desktop)
Connecting using the Netgear Nighthawk App (Mobile Users)
Note: You must be connected to the NETGEAR_EXT network before proceeding with the setup.
Step 3: Set Up the Netgear WiFi Extender
Step 4: Connect Your Devices to the Extended Network
Once configured, you can start using the extended network by following these steps:
After the installation process, you may want to log into Mywifiext.net to change the extender settings. Here’s how to do it:
Device List: View and control every device that is currently connected to the Internet. Adjust the SSID, password, and on/off security scan guest networks in the WiFi settings. Performance Monitor: Check network speeds and signal strength.
Restart your Extender by updating its firmware to ensure optimal and safe operation. Steps for an update: Open www.mywifiext.net and log in. Follow the on-screen instructions to install the update by selecting Firmware Update Verify.
The greatest coverage is offered by the 2.4 GHz band, while data transmission rates are slower.
The interference from other devices on a specific frequency band can potentially impact your WiFi connection. The 2.4 GHz band is used by many WiFi-enabled products and other home appliances, such as garage door openers and microwaves. Overcrowding happens when several devices try to occupy the same radio space.

After turning off the router and extender, restart each device.
Verify that the transmitter and receiver are not separated by any physical obstacles or substantial walls.
Verify that the WiFi adapter on your device is in good operating order.
In any case, the majority of current solutions for this issue include simply forgetting and re-establishing your device’s connection to the extension network.
How to Use the Netgear Genie and Nighthawk Apps to Speed Up Your Network
The router appears to be having problems for the following reasons. Kindly investigate whether the parent router is the source of these issues.
inadequate range
Problems with the firewall configuration
VPN issues
Should the problem persist, kindly send an email to support@mywifitext.com, and a member of our technical staff will get in touch with you right away.
Talk to one of our technical engineers to receive your
problem fixed
Register Here
Register Here
Login to Mywifiext
New Configuration for Extender
Login to Mywifiext
In Need of Assistance?
Signup
My WiFi extension isn’t connecting; why is that?
“No internet” appears on my WiFi extender. Why?
WiFi extender generating issues following a firmware update?
Problems with the Netgear WiFi extender app.
Talk To Us
Get immediate responses to any questions you have about the Netgear extender by chatting with our experts.
Signup
Write to Us
Write to Our Experts, and they will respond to you as soon as they can.
Signup
If you have to reset the extender to its factory settings, follow these steps:
Firmware update is essential as it can increase performance, debug bugs, and add new features to your extender. You can update your extender’s firmware by:
To ensure your Netgear WiFi extender is working optimally:
Setting up your Netgear WiFi Extender using the Mywifiext.net interface is a simple, quick procedure that can help upgrade your home or office’s WiFi network significantly. With greater coverage and reliability, you will now be able to enjoy smooth internet connectivity across the entire space.
If you face some problems, try the troubleshooting process in this document or contact Netgear Support for further assistance. Update your firmware and place your extender for optimal performance.
Enjoy uninterrupted WiFi coverage throughout.
If you are bothered by any of these Netgear extender issues, then get in touch with our experts to get them fixed in an instant manner. However, the answer to some of the queries is given below, for your perusal.
Many people ask our technical specialists why their WiFi extender won’t connect, so they can provide the solution. Don’t worry if the same problem is affecting you. Due to the positioning of WiFi-causing gadgets close to your router and extender, you risk running into connectivity problems with your extender. Place your WiFi devices far away from objects that emit radio waves, such as Bluetooth speakers, microwave ovens, cellular phones, baby monitors, etc., to solve the WiFi extender not connecting issue.
Additionally, if your WiFi extender is improperly connected to the router, it may cause internet connectivity problems.For this, you need to cross-check the cable connection between both the devices and if any breakage is found in the Ethernet cable, get it replaced immediately. Doing so will certainly help you fix WiFi extender not connecting issue.
My WiFi extender indicates no internet is another frequent problem that has many WiFi extender customers scratching their heads. If your extender is not installed correctly or you are not receiving proper internet from your Internet Service Provider, a problem may arise.
Ping the router to which your WiFi extender is attached to see whether you are receiving internet from your ISP in order to resolve the WiFi extender reports no internet issue. If it is not the cause of the issue, reset your range extender and reinstall it. Get in touch with our technical experts for quick setup of your WiFi extender.
Firmware updates are offered for enhancing users ‘experience when it comes to enjoying internet. But, sometimes, users are not able to make the most of their extenders after updating firmware on them. If your WiFi extender is causing problems after firmware update, then chances are you have updated the wrong or corrupted firmware version on your WiFi device. To rid yourself of the issue, you need to reset WiFi extender to the default settings and install it again.
Netgear WiFi extender app is offered by the company to help users setup and manage their extenders in a hassle-free manner. But, it has been witnessed that the Netgear WiFi extender app is creating issues for many users. If you are also bothered by the same, check whether you have installed the latest software